Usage
In Dashboard
Using dashboard is really easy, like playing PUBG! You can do it any time without any effort. Because our first aim is make some time for our community with our dashboard. So, UI and dashboard is friendly as much as and we will make it better.
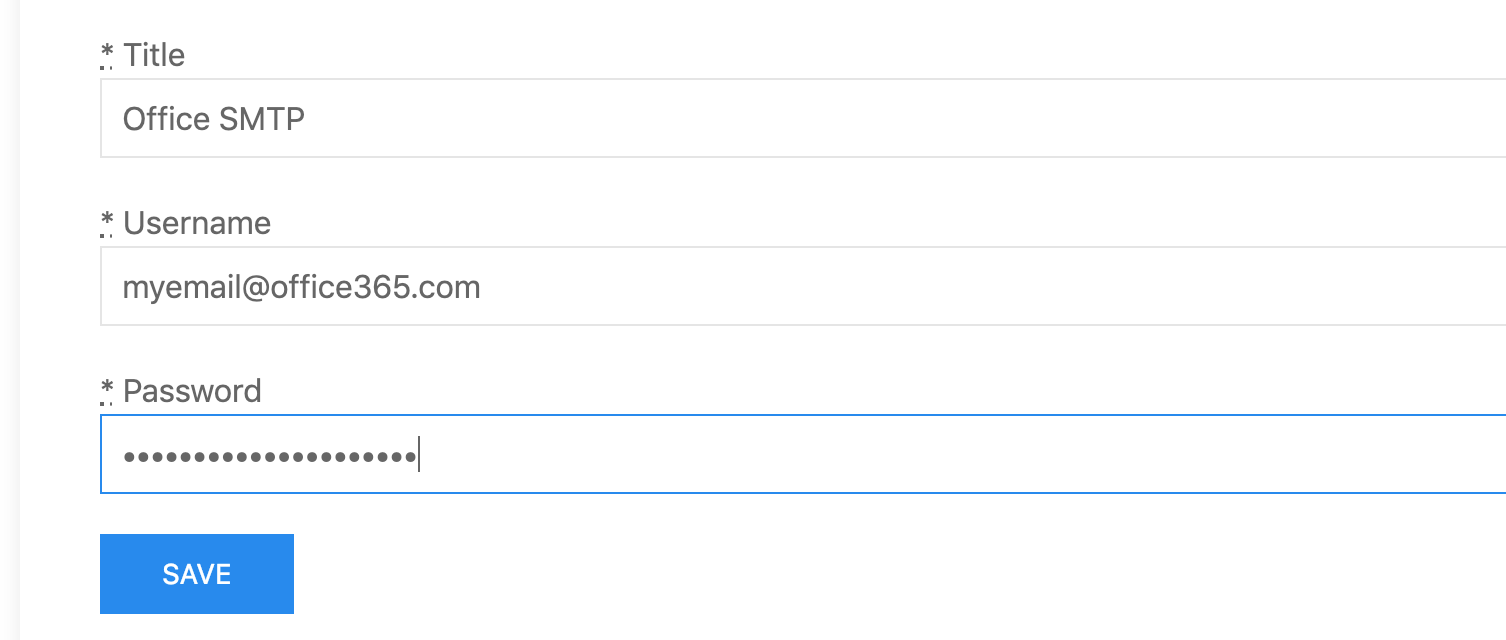
🔸 Add your SMTP Settings
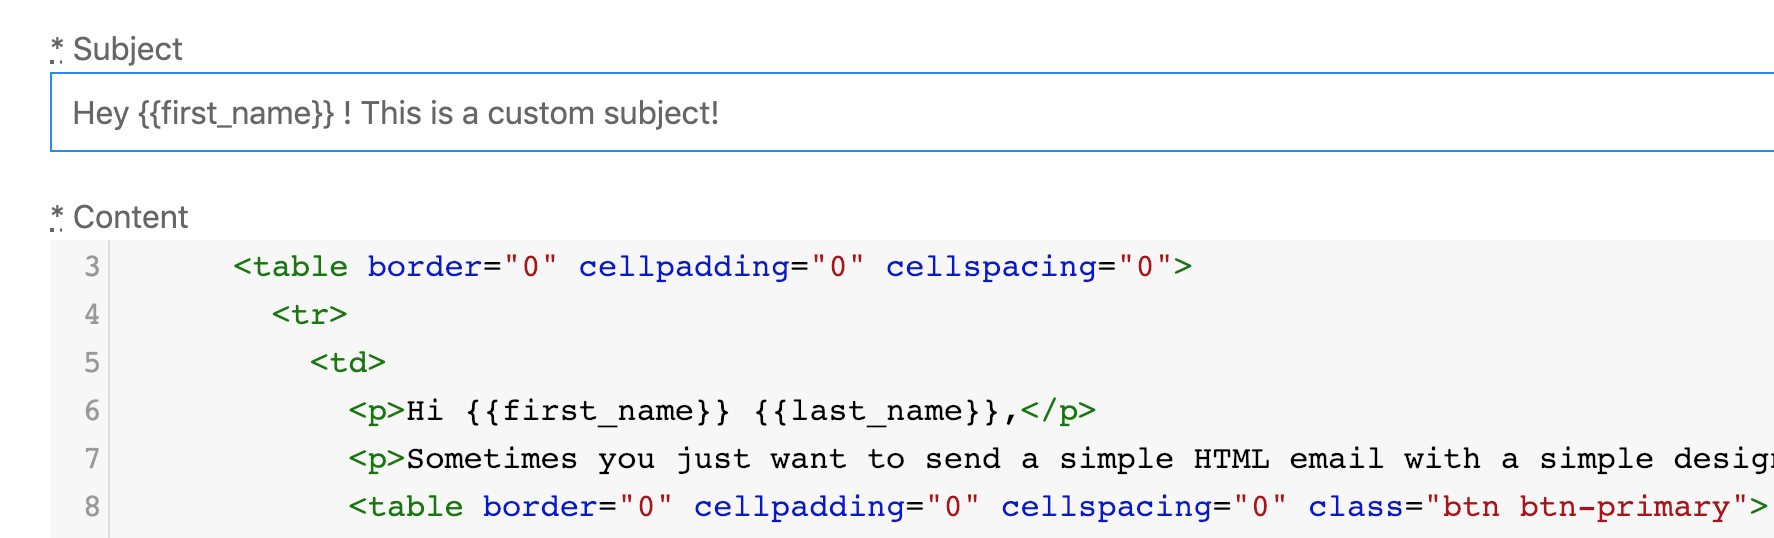
🔸 Create email template with handlebars variables.
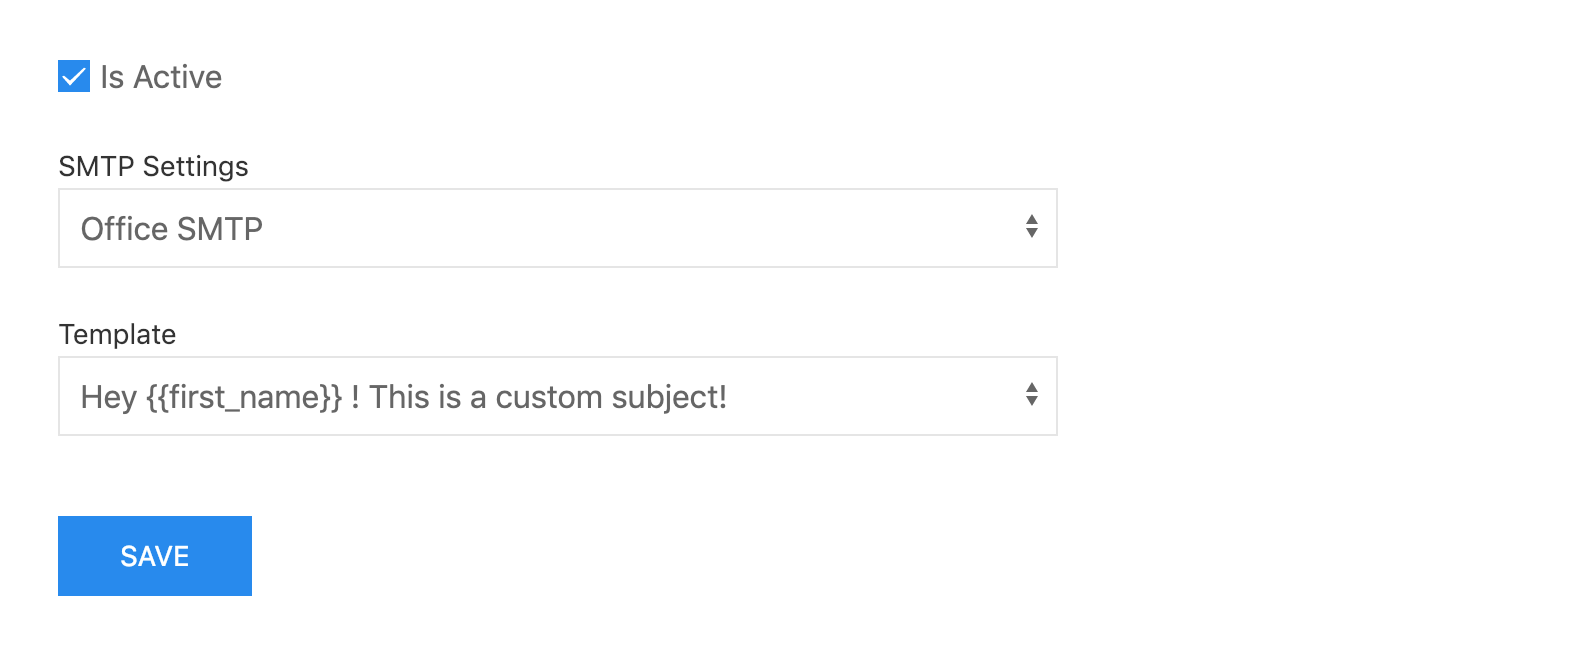
🔸 Create notification. See, easy peasy!
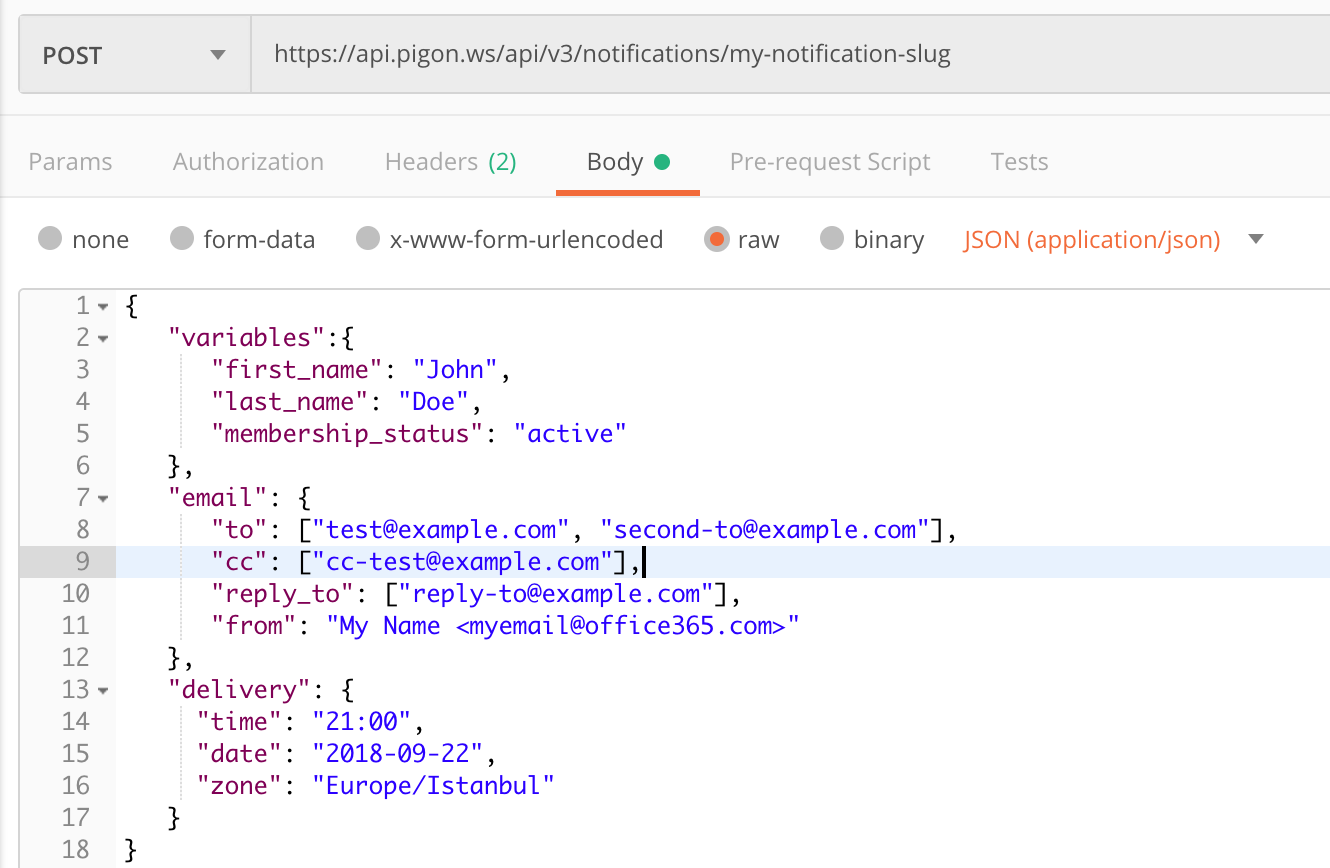
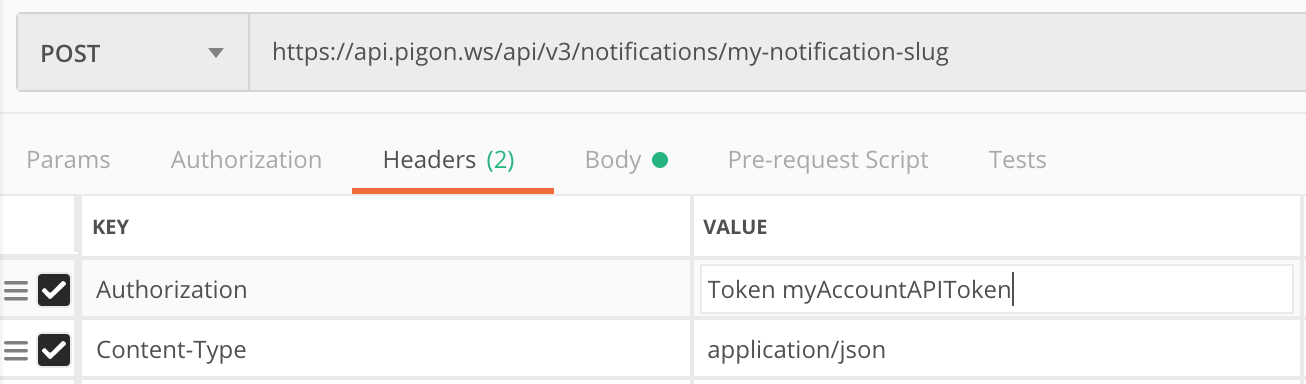
Posting to REST API
POST https://api./api/v3/notifications/NaN
Authorization: Token
{
   "variables":{
      "button_name": "Click me!",
      "name": "John"
   },
   "email": {
      "to": ["test@example.com", "second-to@example.com"],
      "cc": ["cc-test@example.com"],
      "reply_to": ["reply-to@example.com"],
      "from": "myapp@example.com"
   },
   "delivery": { # optional
     "time": "21:00",
     "date": "2018-09-22",
     "zone": "Europe/Istanbul"
   }
}
Step by Step
1- Authorization
Sign in or Sign up to dashboard through dashboard.yourappdomain.com or on live demo http://email-dashboard.svteknoloji.com.
2 - Create New Account
Create an account and get your API tokens. You will use the tokens to send API request.
3 - Create New Template
Create an HTML template on the dashboard with handlebars](http://handlebarsjs.com/) variables.
4 - Add SMTP Settings
Add your SMTP settings for any provider and make sure your mail account's SMTP options are enabled.
5 - Create a Notification
Create a new notification and choose SMTP and the template have created before. Then activate your notification.
6 - Post to API
Post your Variables to API.
7 - Check the Activity
After posting to API you can check the activities and their statuses. If the activity status is succees the receiver can check the inbox as well.
